[GB] SaiB - CP - Geekhack: https://geekhack.org/index.php?topic=92333.0
這一把是小弈哥寄來給我代組的鍵盤,是由Geekhack上的一位韓國玩家PainMaster設計,模仿Cherry 1800系列,再改一下F排的及數字區右上兩排,形成一把配置較為緊湊的金屬鍵盤套件。
This is a kit which angelafreet sent to me for assembly. Designed by PainMaster from Geekhack in South Korea. The layout is similar to Cherry 1800 series keyboards, rearranging top two rows to make it into a compact layout. A metal keyboard kit.
SaiB - CP這個名稱的意思為Simple, as is Best. - Compact,文法看起來是有那麼點怪怪的,不確定作者取完名之後有沒有檢查就是。名字唸起來很像"傻逼"XD。
SaiB - CP stands for Simple, as is Best. - Compact. Not sure did the desinger check the grammar after naming it. xD
這把鍵盤在IC的時候,我也有注意到它,不過已經有了TX1800這把經典的鍵盤,就沒有考慮入手了。但以樣品照的照片看起來,外型是相當不錯的。
I noticed it when it's still in IC form. But already owing a TX1800, I didn't considering to join the GB. Prototype photos definitely looked nice though.
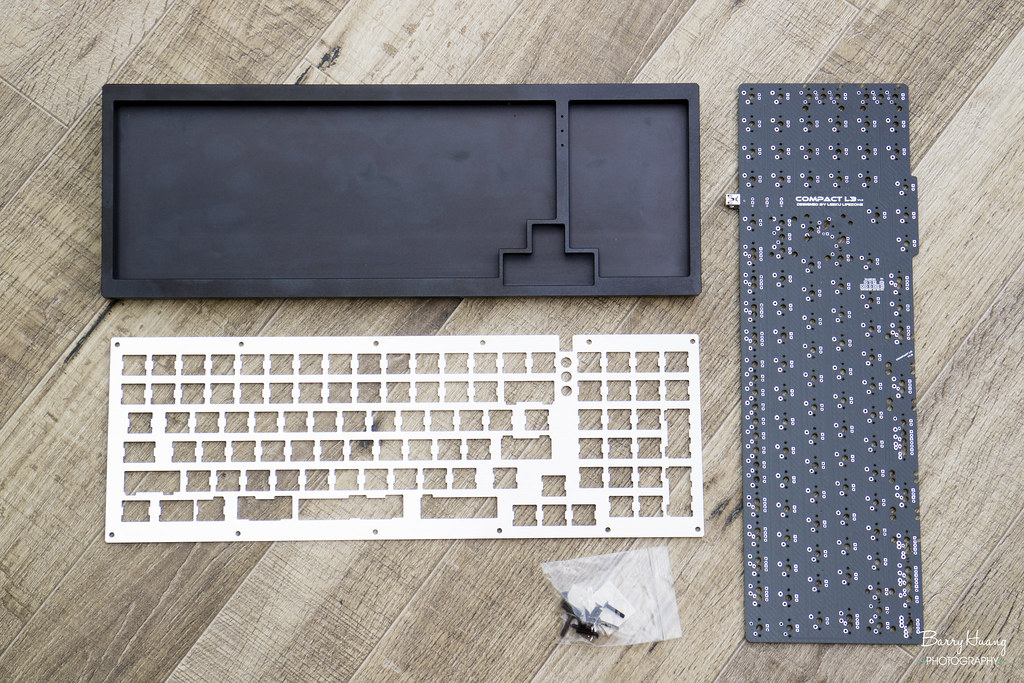
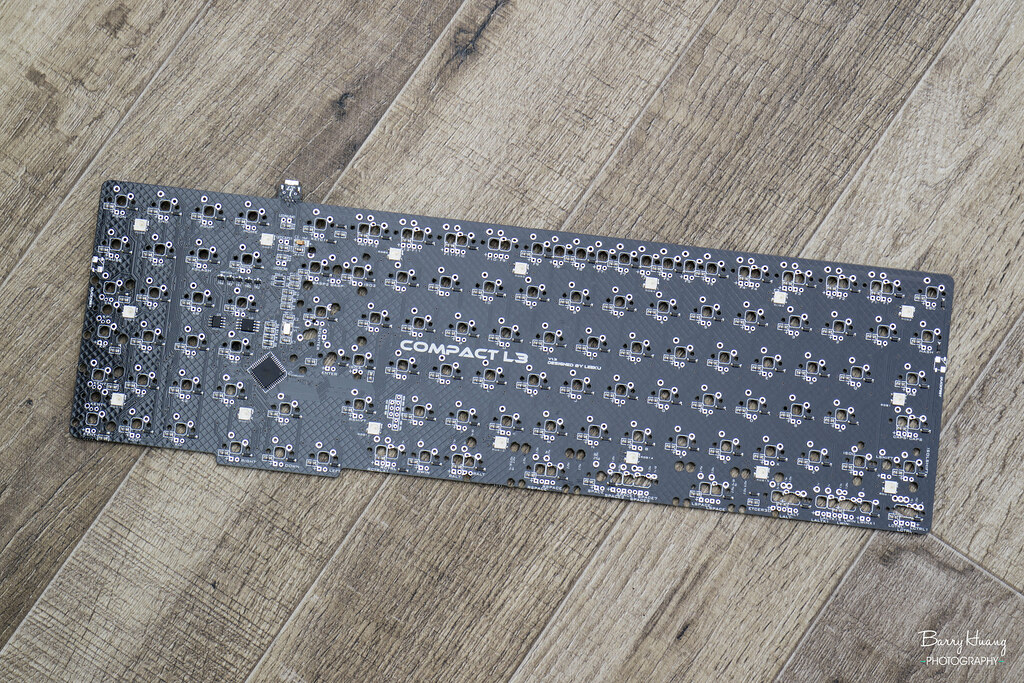
↓傻逼所有的部件及零件,黑色的上下殼,拉絲不鏽鋼定位板,及Leeku的CP版本PCB。殼當時還沒有經過擦試過,所以還有一些手痕。
All parts and components of SaiB - CP. Black top and bottom case, with a brushed stainless steel plate and Leeku's CP PCB. Case wasn't wiped when taking photos, so you can see there are some hand marks on it.
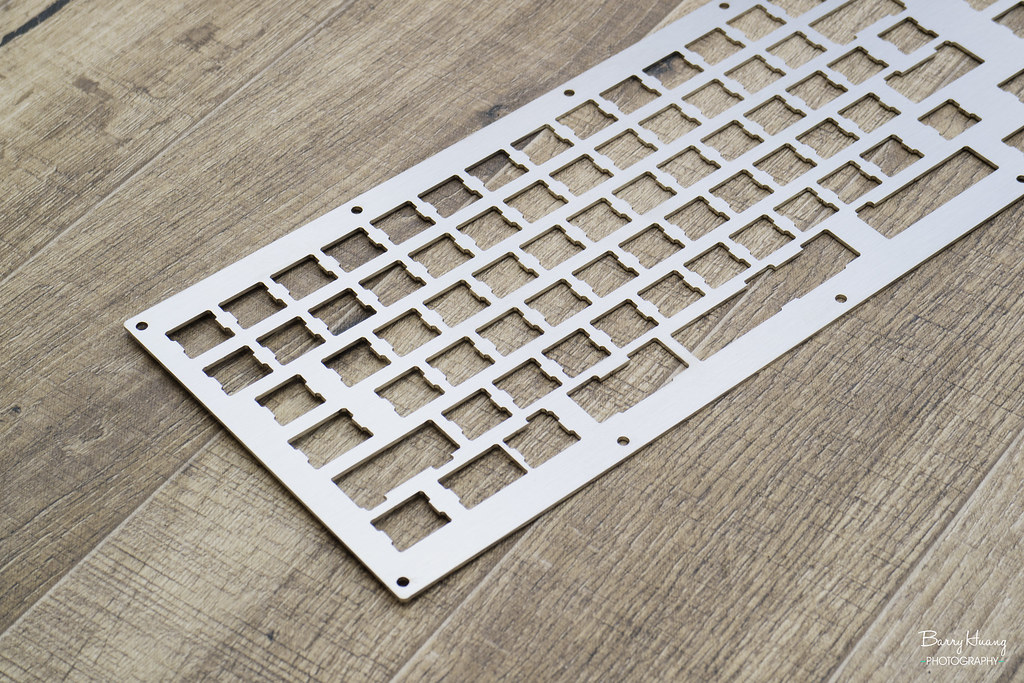
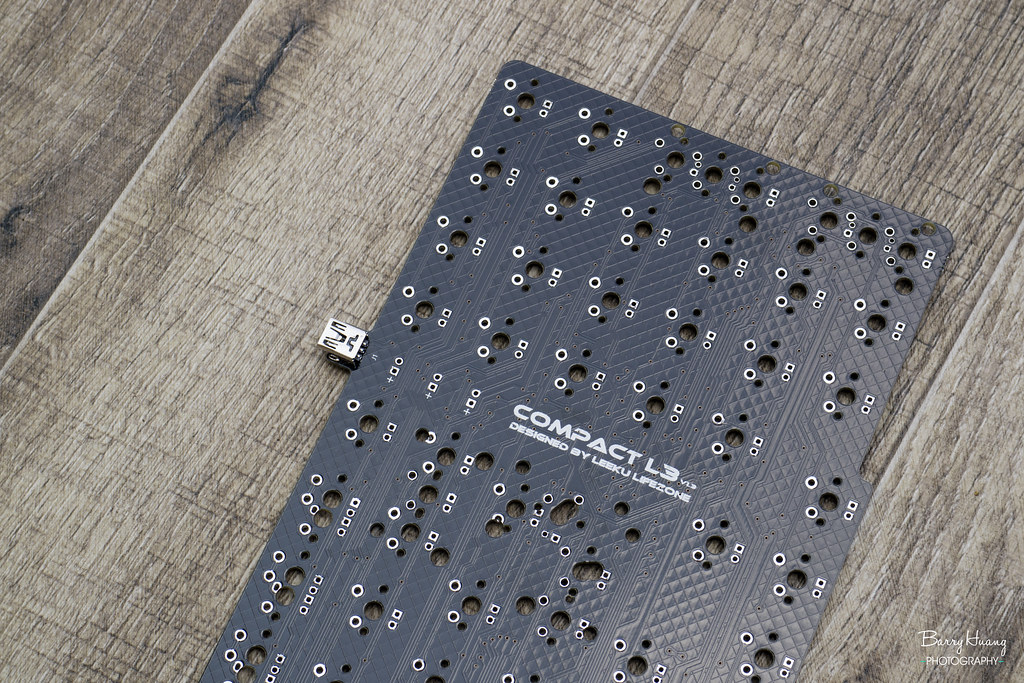
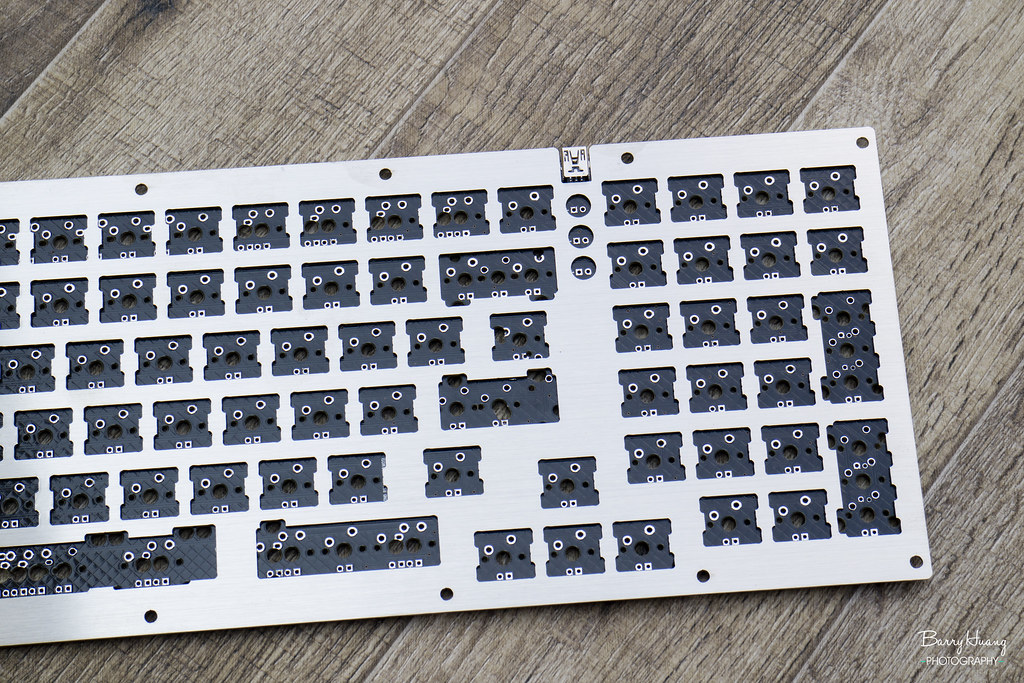
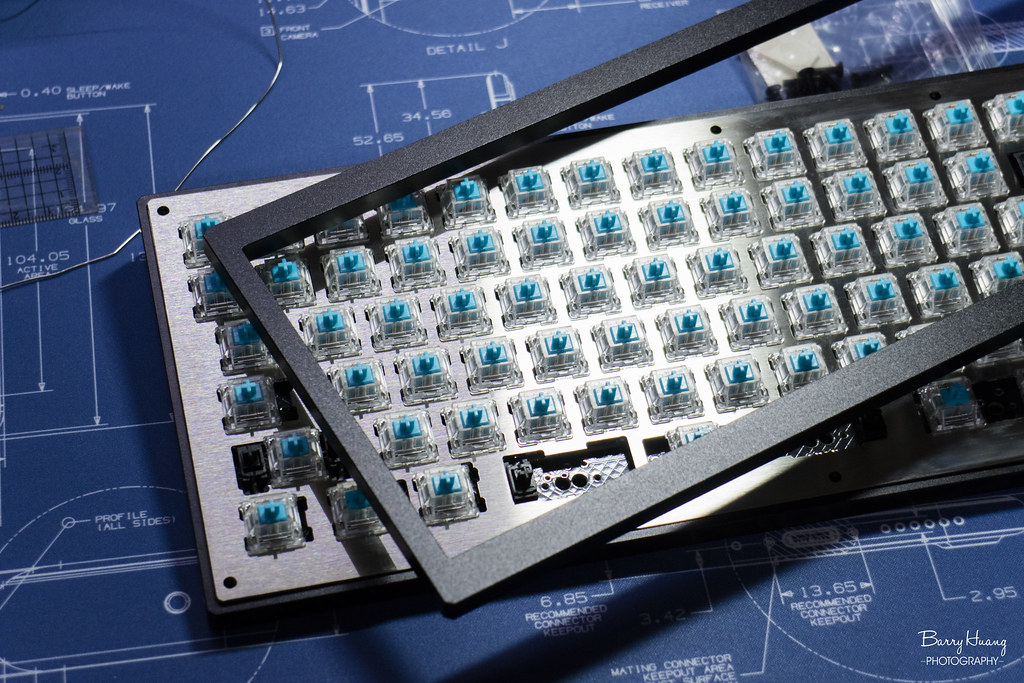
↓把定位板和PCB合起來對一下位置,看起來是ok的。
Put plate and PCB together to check if the position was right. Looks good.
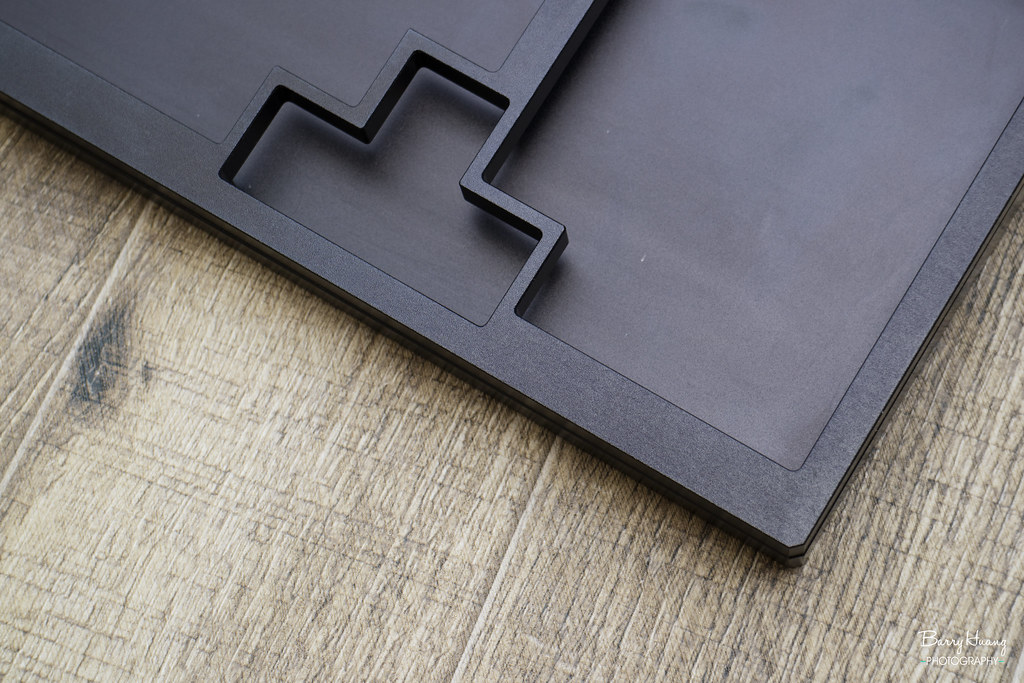
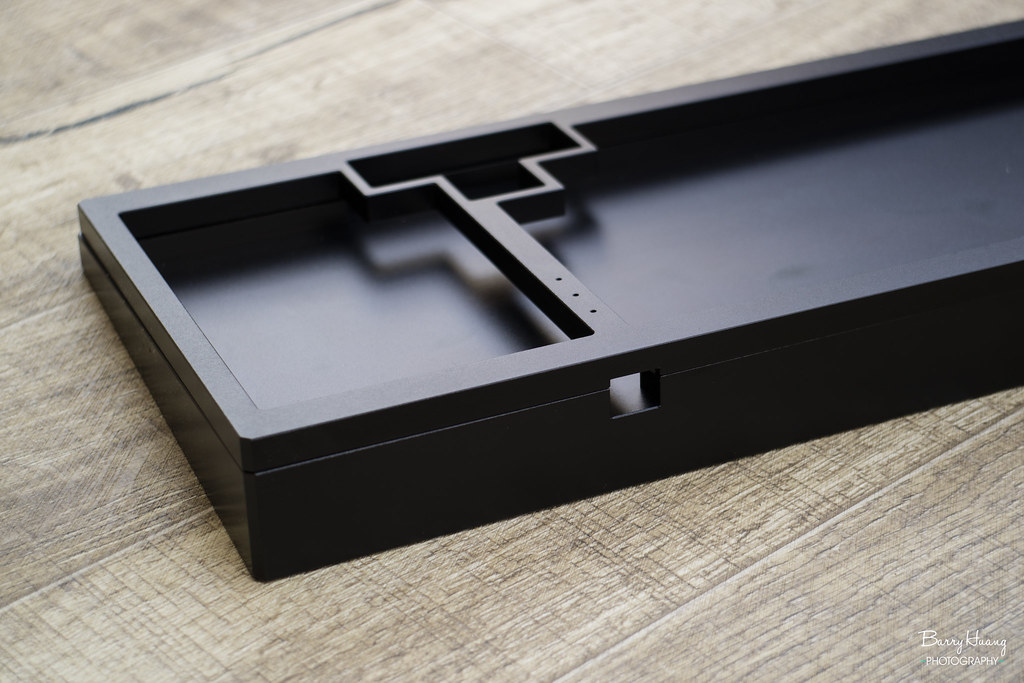
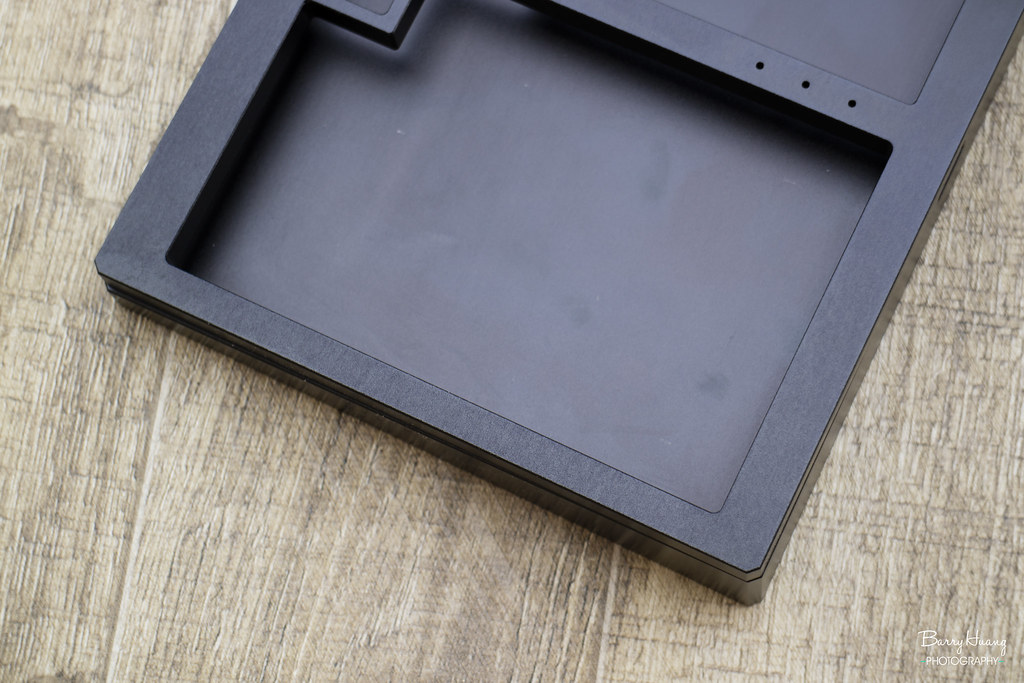
↓殼的一些照片,從一些近拍的照片可以看到陽極稍粗糙了點,就這個價位來說沒有達到我個人的標準。
Some photos of case. You can see the anodizing was a bit rough. It didn't meet my personal expectation for this price.
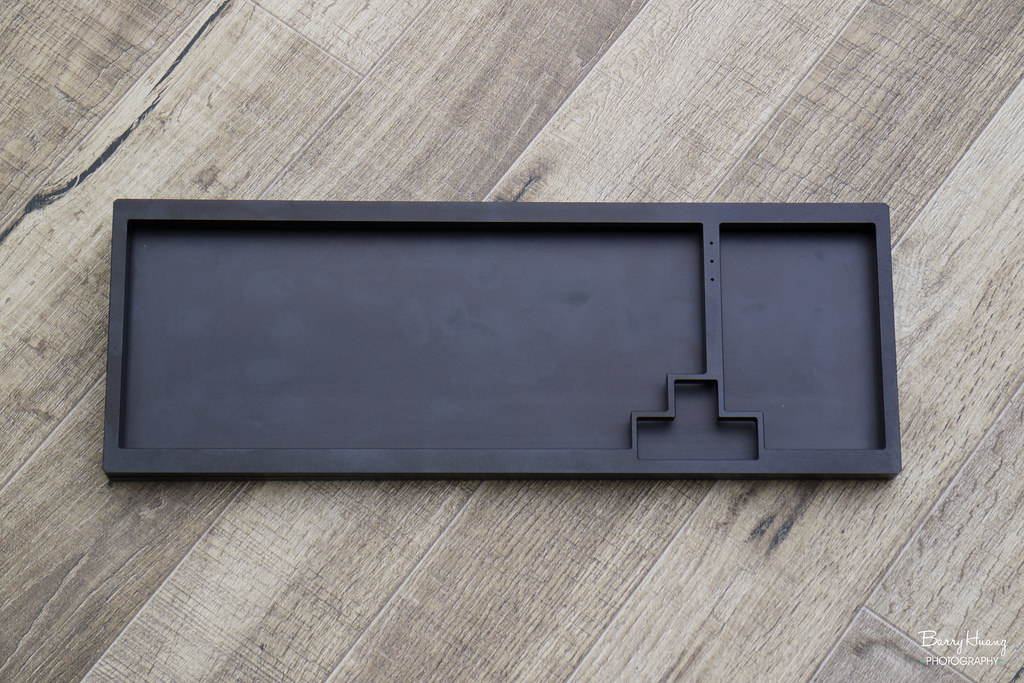
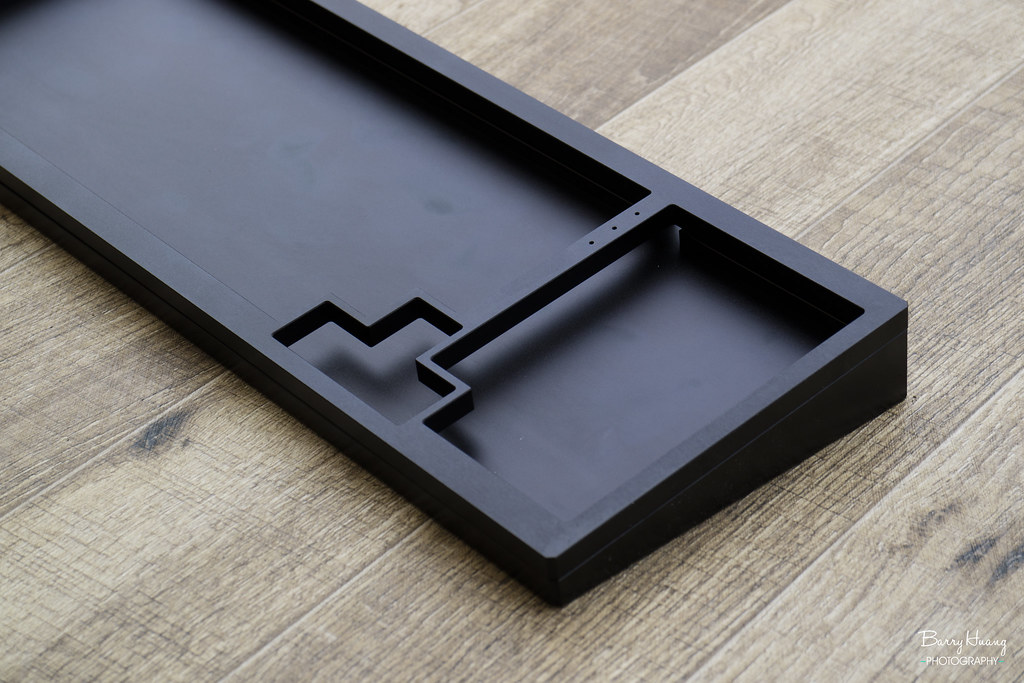
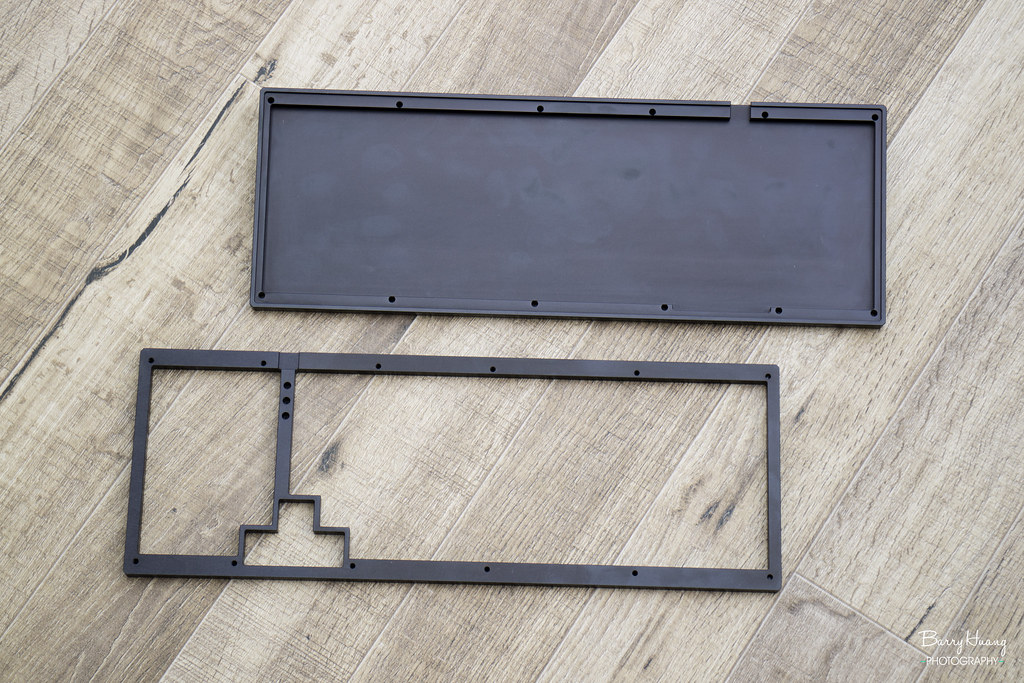
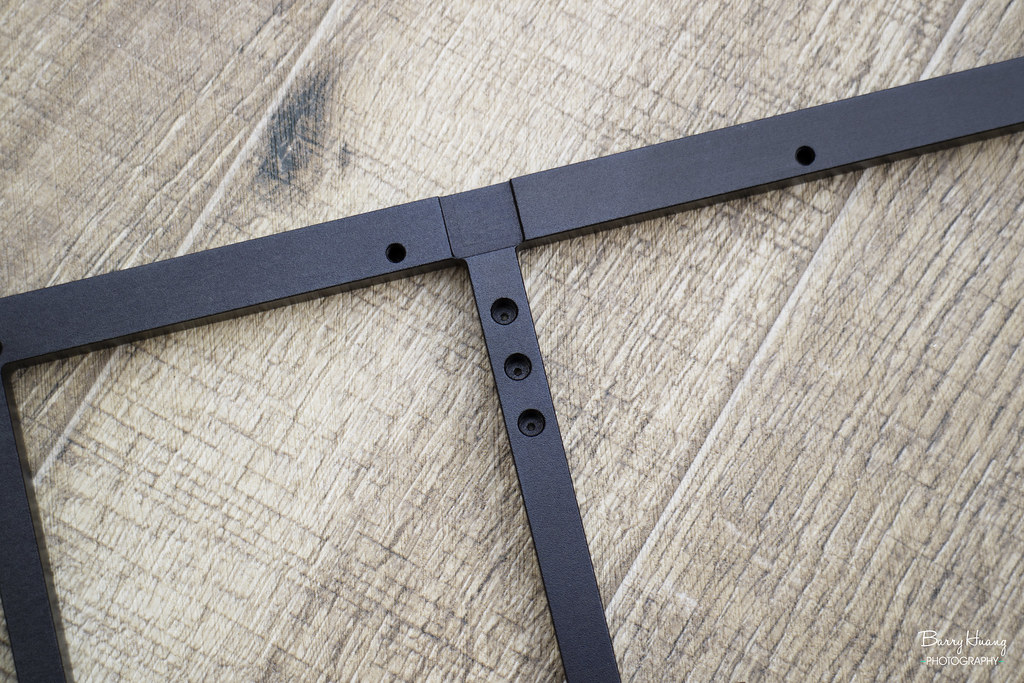
↓上下殼分離的樣子,背部有3個圓形的開口給指示燈放進定位用。
Seperately look of top and bottom case. There were three holes for indicator leds to position.
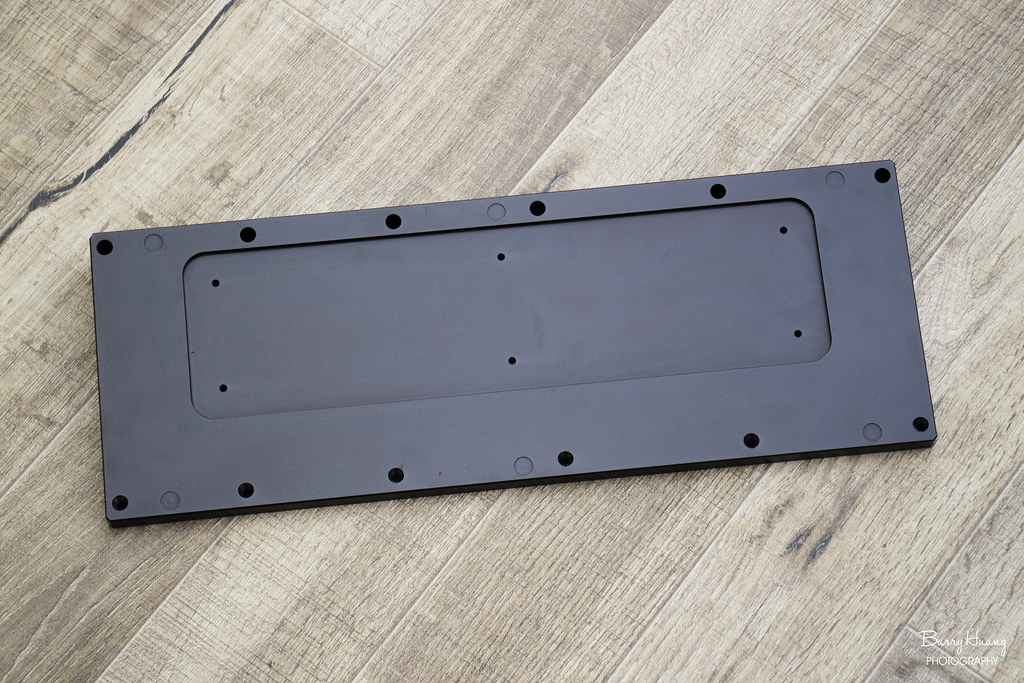
↓底殼的背部有個看起來像是給配重用的槽,還有配合的螺絲孔,但妙的是作者沒有給其它部件可以填滿它。XD
There's a slot in bottom case which looked like it's for weight. Interestingly no parts left for it, and screw holes were made anyway.
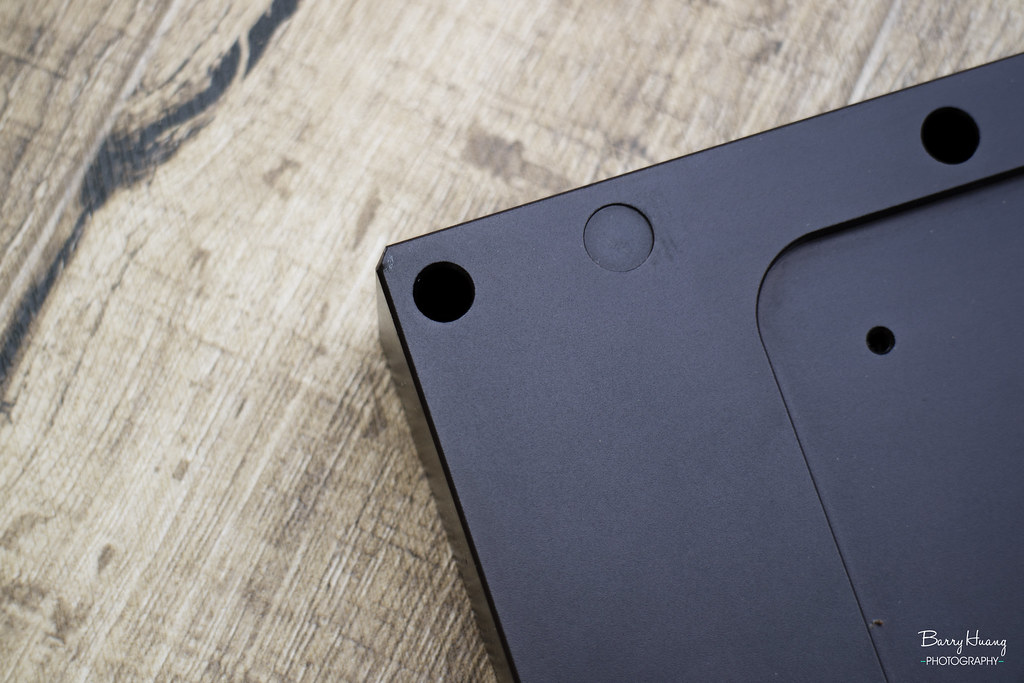
↓一個瑕疵的地方,送來的時候包裝的蠻好的,應該是製作時造成的,可惜了。
A dent. It might be there already since the protection of package was perfect. Pity.
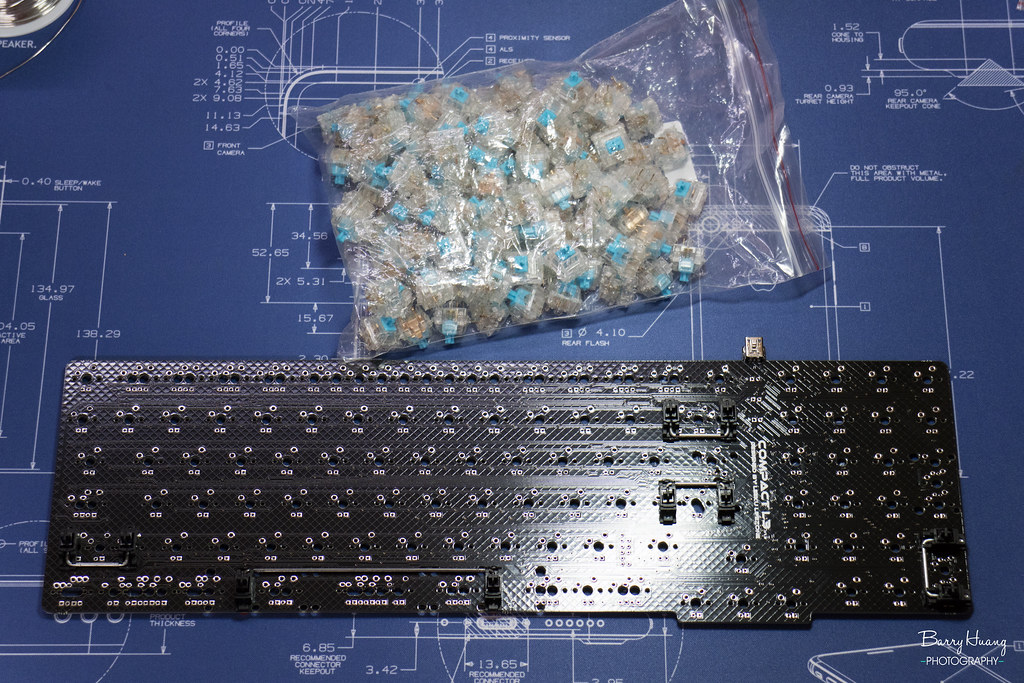
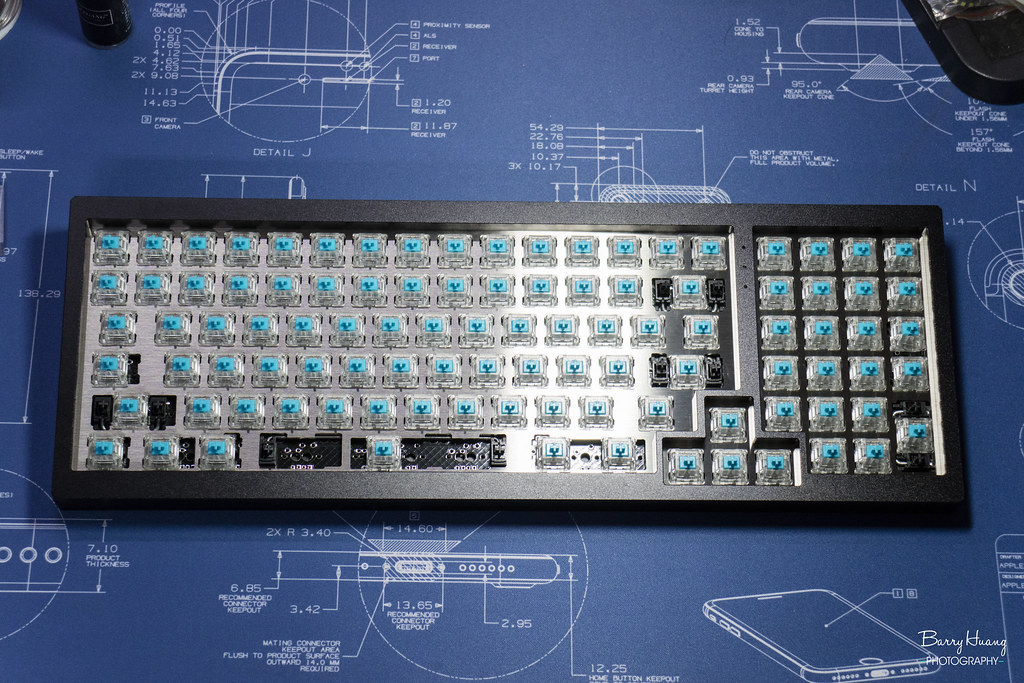
↓組裝準備用的零件為潤滑過的67g Zilents和已經被我裝進去的GMK衛星軸。
Some lubed 67g zilents and installed GMK stabilizers for this build.
↓我某次用貼紙絕緣剪到很煩之後,就去買了一包絕緣墊片來用,刻意挑了個紅色的。
I bought some paper rings for after one time I felt annoyyed clipping stickers for insulation. Picked red intentionally.
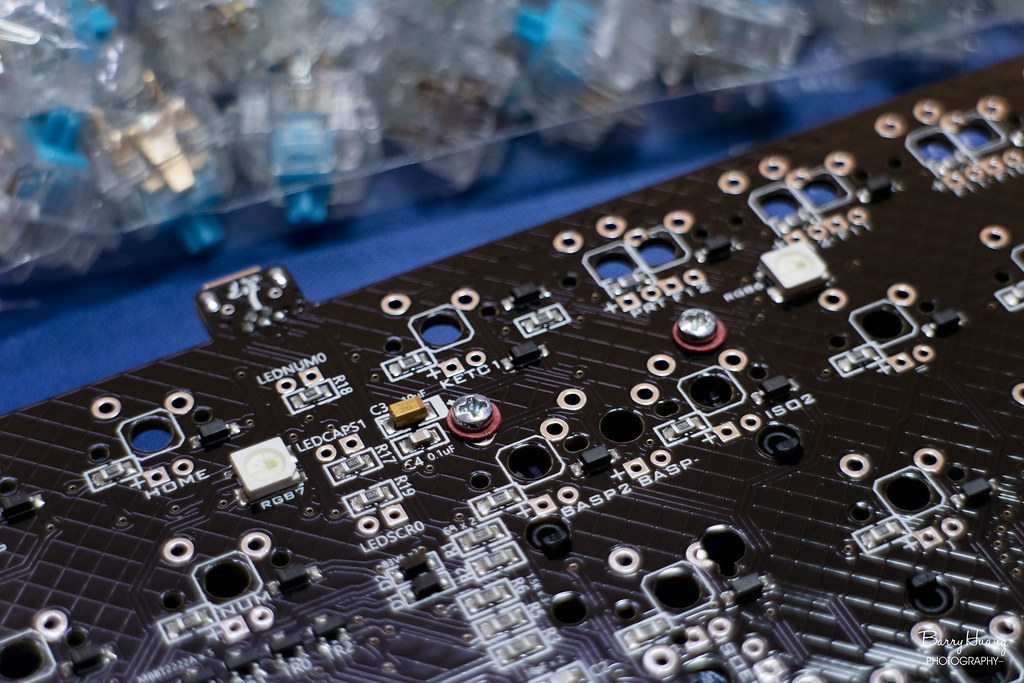
↓軸裝好、焊好之後,最後要裝上指示燈。原配的燈是方形的,只是不知道為什麼藍色的是比較淡的藍,我就換成我這邊自己的3mm圓頭燈來用了。先把燈放進去,再倒過來跟上殼結合一下,讓燈跑進殼的燈孔裡定位,再焊上即可,不用自己在那邊猜led的腳高度要留多少。
Installed indicator leds after all switches were soldered. Original leds were 2x3x4 squared, but the blue one was a bit lighter. So I used mine instead. Put leds in and turned it over to combine with top case. Those leds would go into holes of top case. That way you don't bother measuring what's an ideal height should be for them.
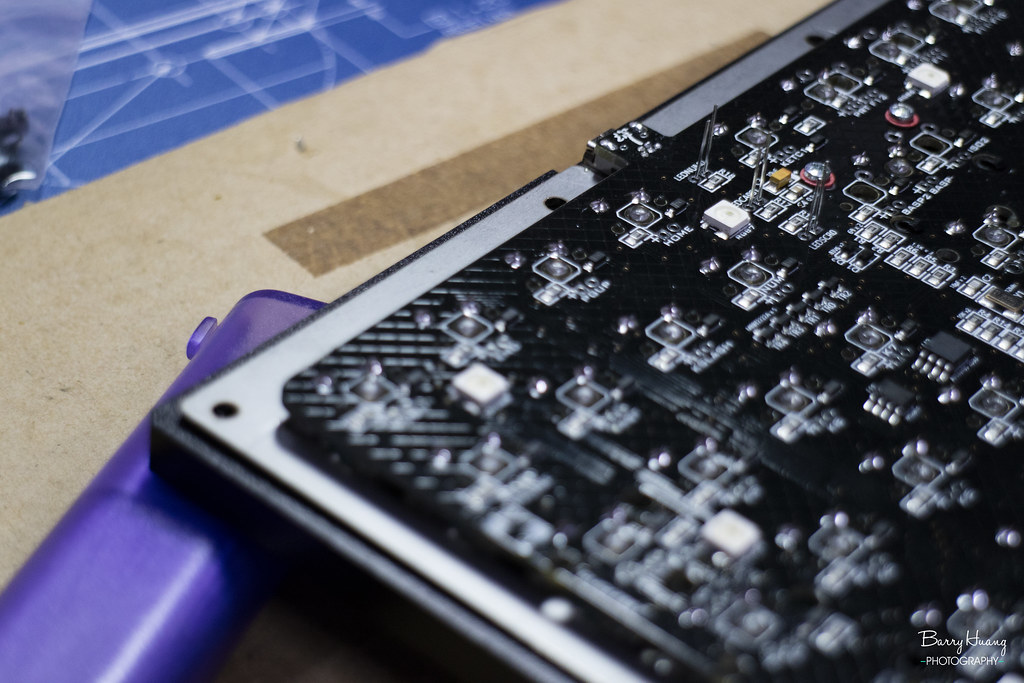
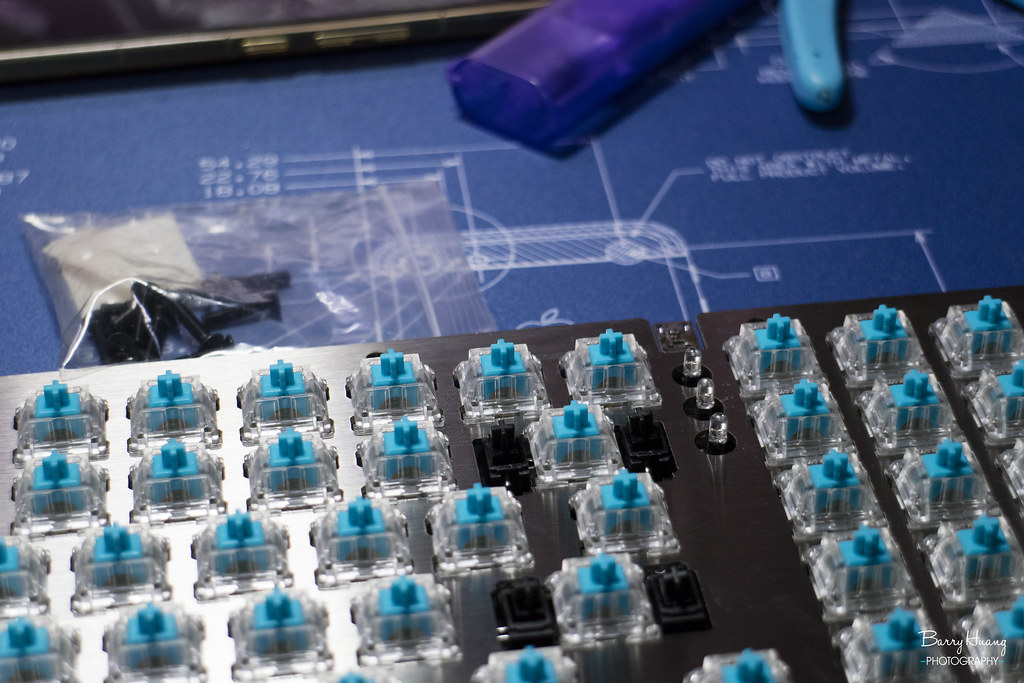
↓最後把組好的定位板及PCB放進下殼邊緣的凹槽裡,但好像沒辦法完全平整的塞進去,看來只能用上殼壓住,鎖螺絲來固定了。
Put in assembled plate and PCB in edge slot of bottom case, but it wasn't able to be in completely. Looked like the top case and screws was required for combining them together firmly.
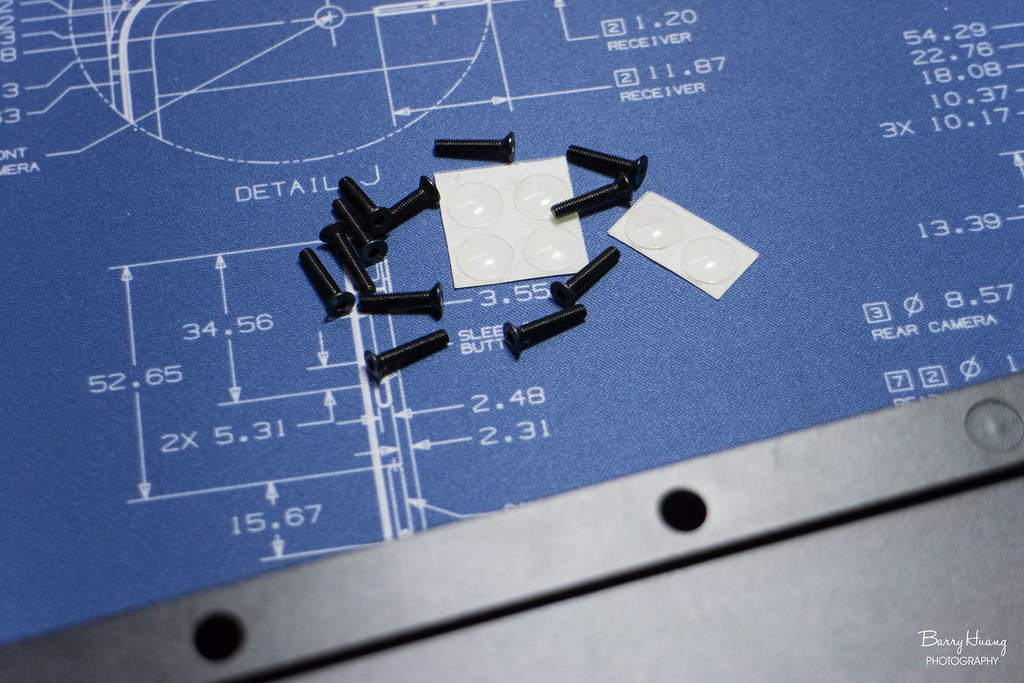
↓最後裝上防滑膠墊,但是膠墊比預留的孔位size還要大XD。
Sticked rubber feet to slots. However the size didn't match. :(
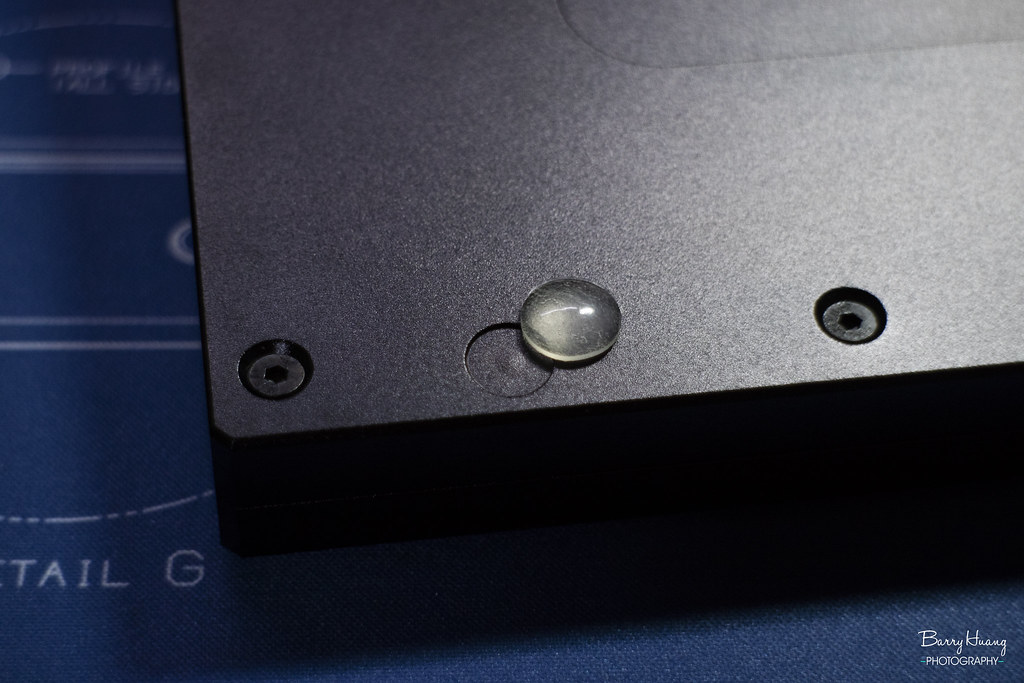
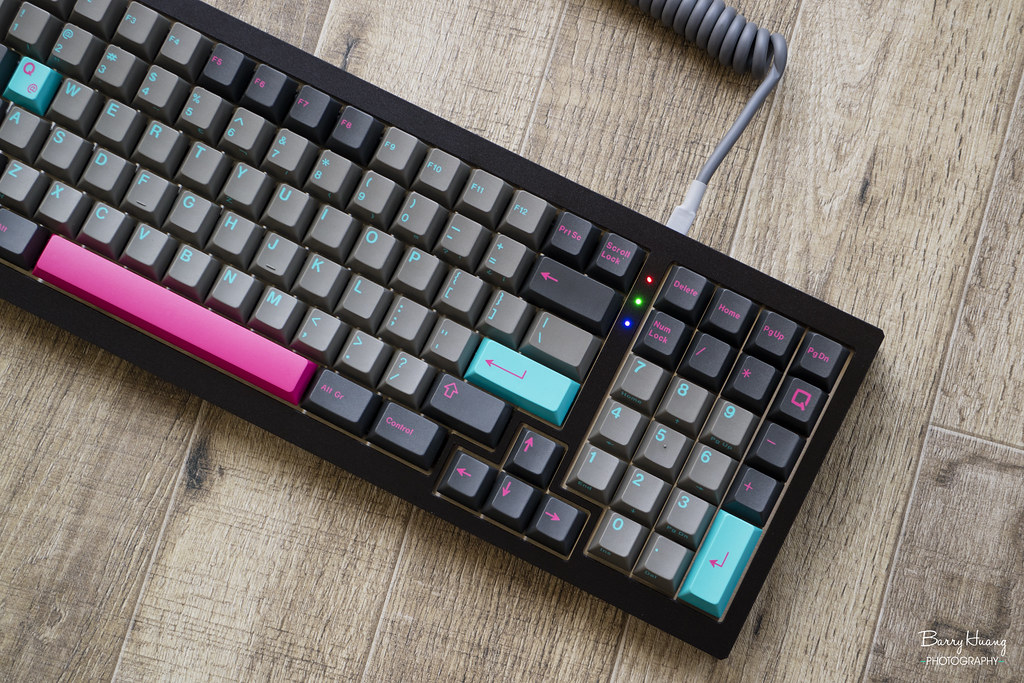
↓完成啦,看起來還可以。
Done! Seemed okay.
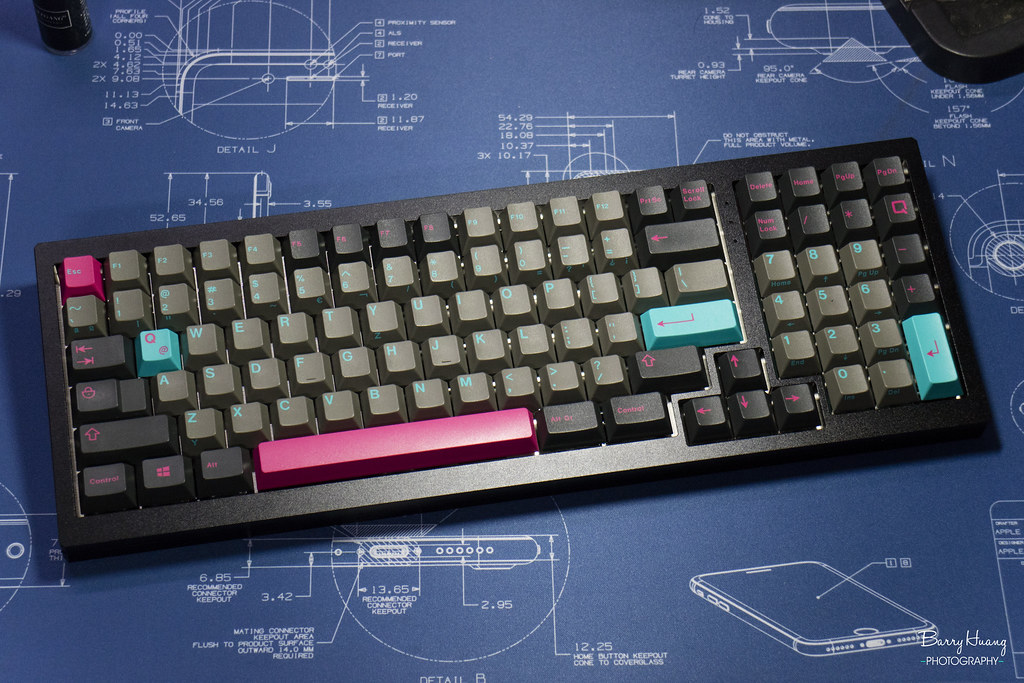
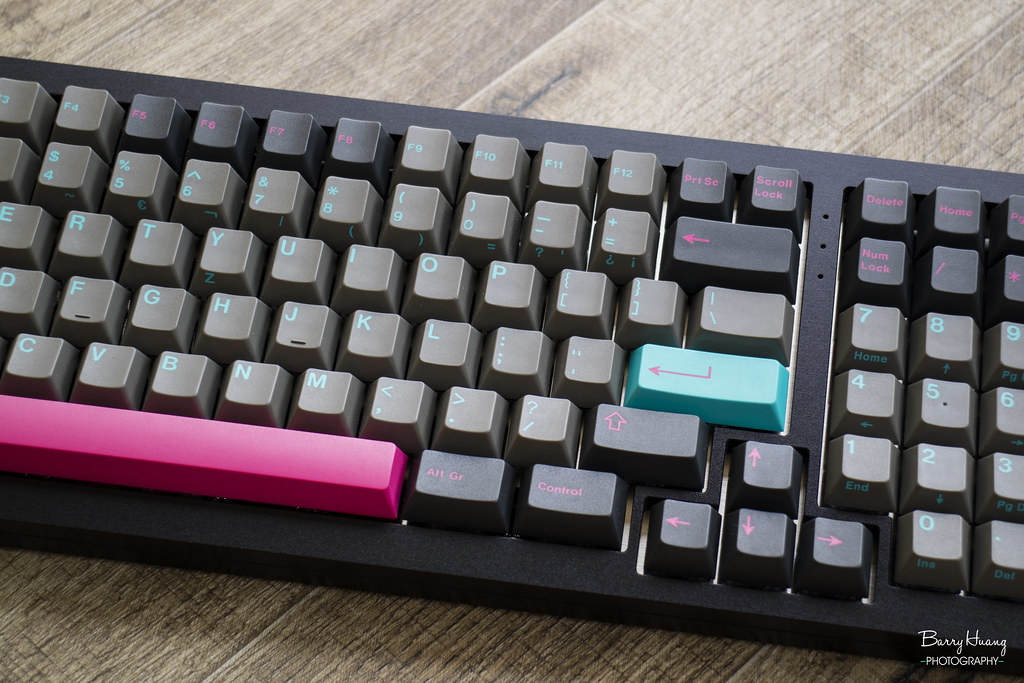
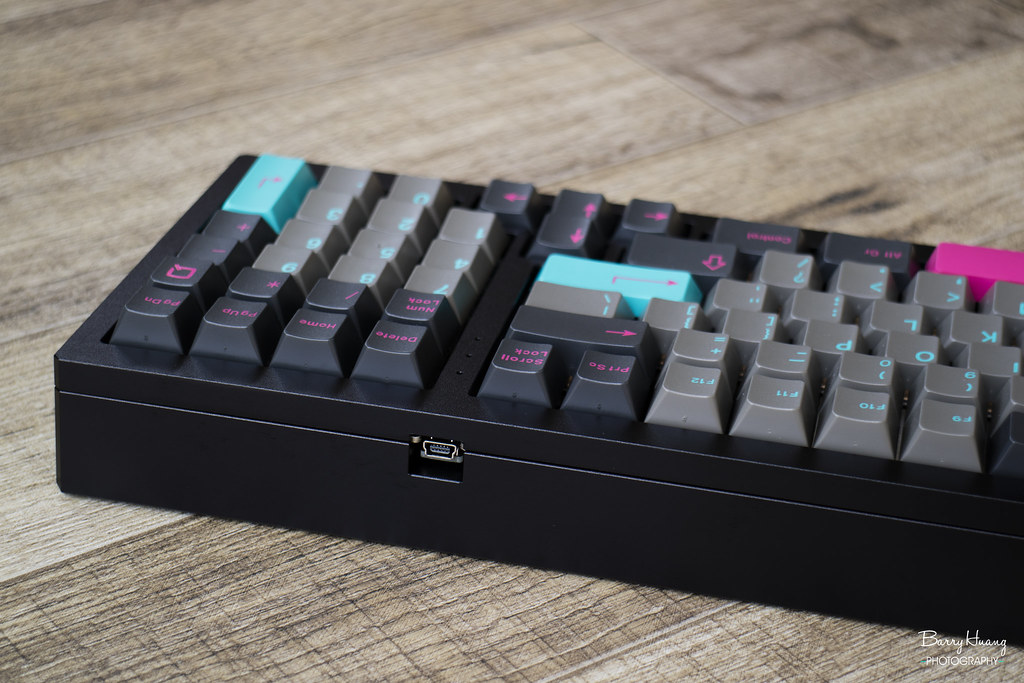
↓鍵帽用的是好久沒出來透氣的GMK Dolch Reborn。
Put in GMK Dolch Reborn for some photo shoots.
↓各種角度。
Differents angles of view.
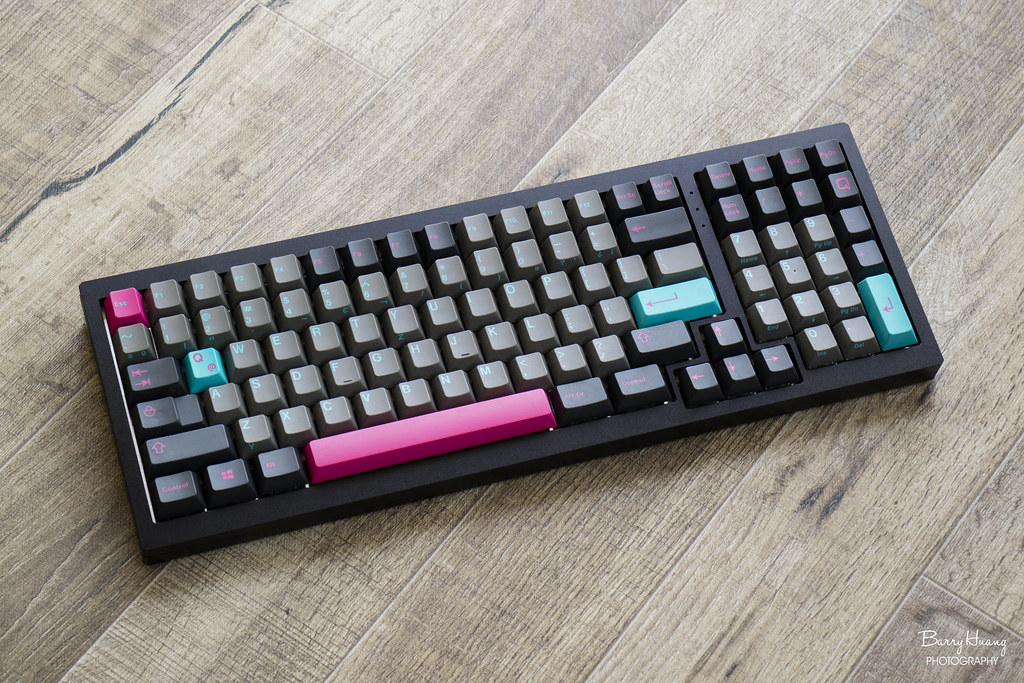
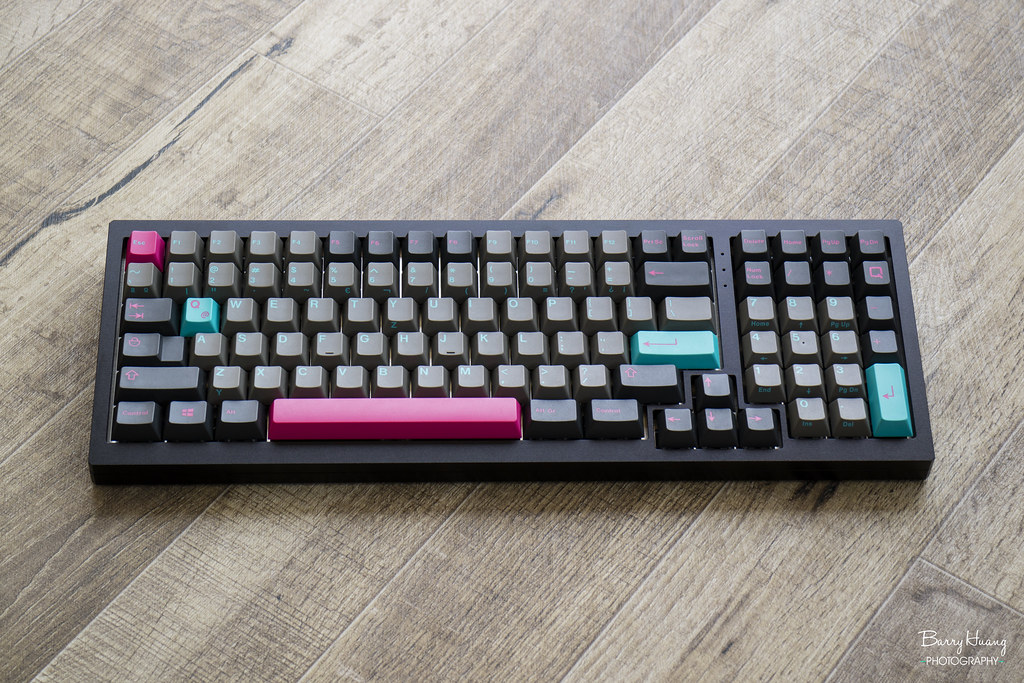
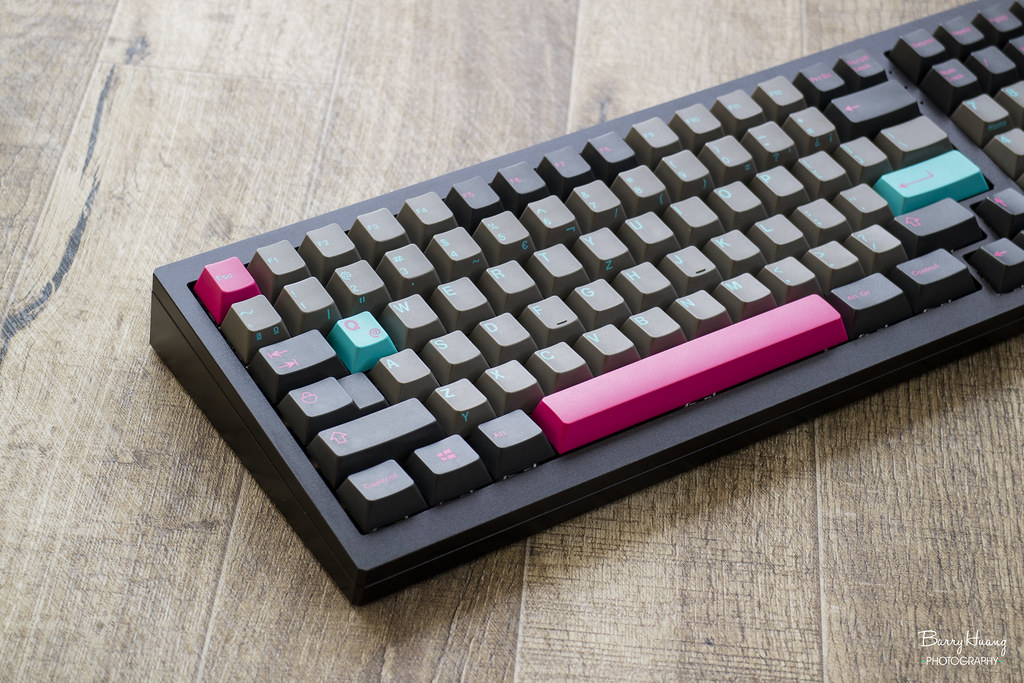
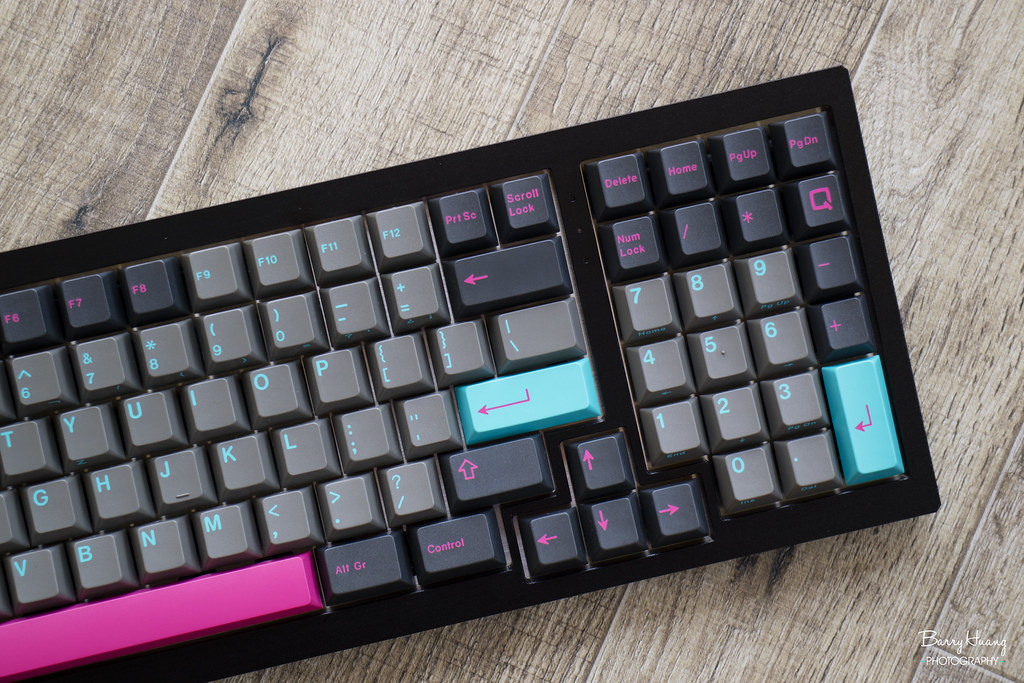
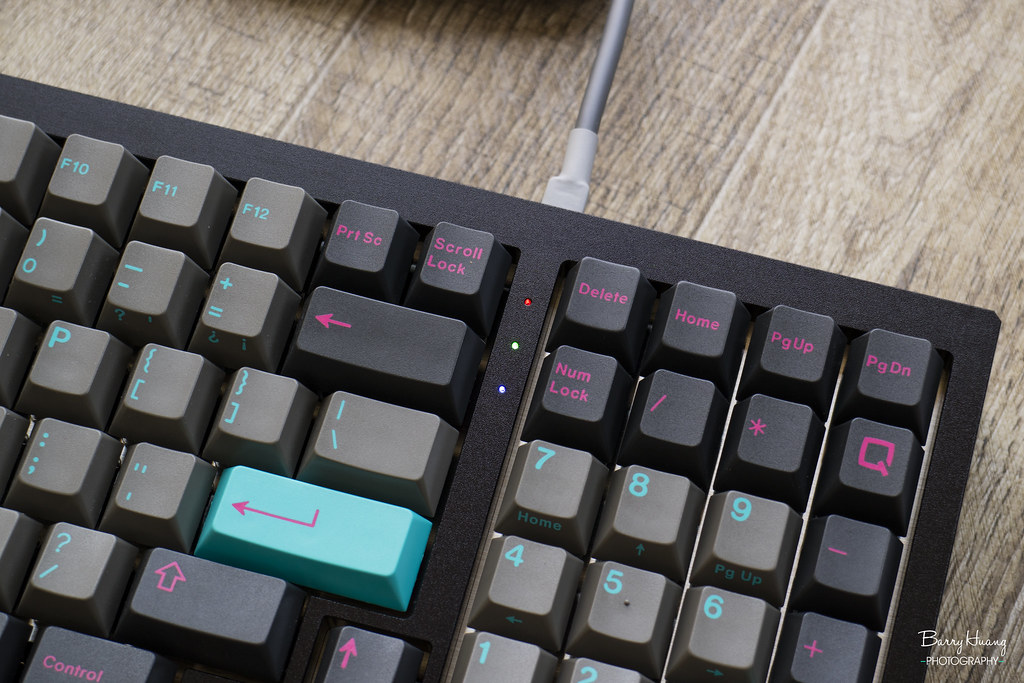
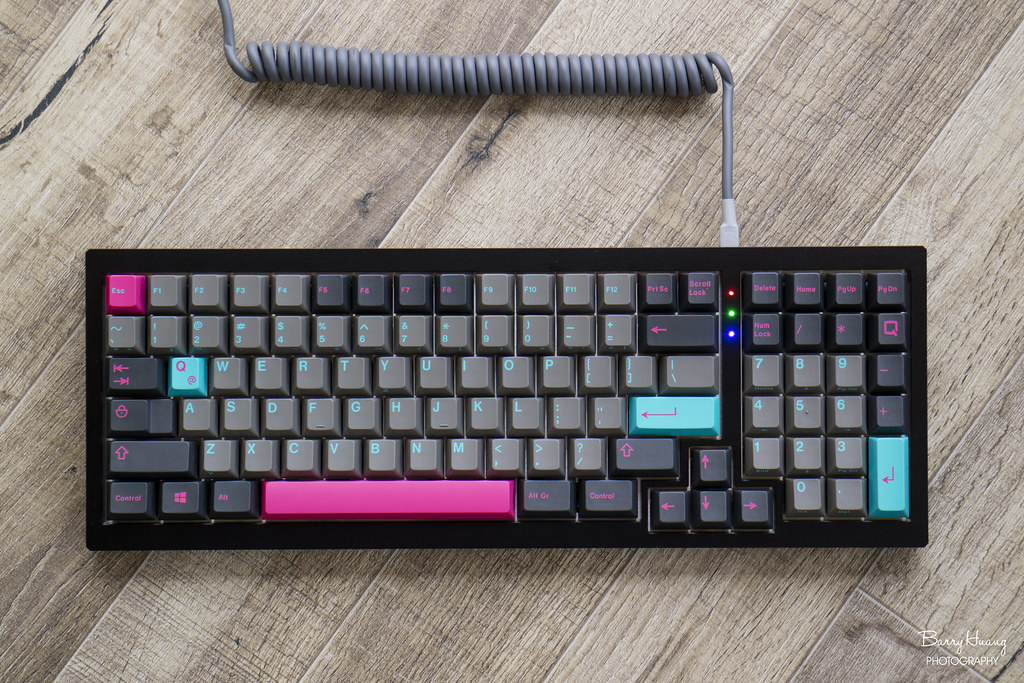
↓最後接上線來看一下指示燈亮起來的效果,果然有亮才比較對味。
Plugged in a cble to see the effect when indicators were up. Now everything's different.

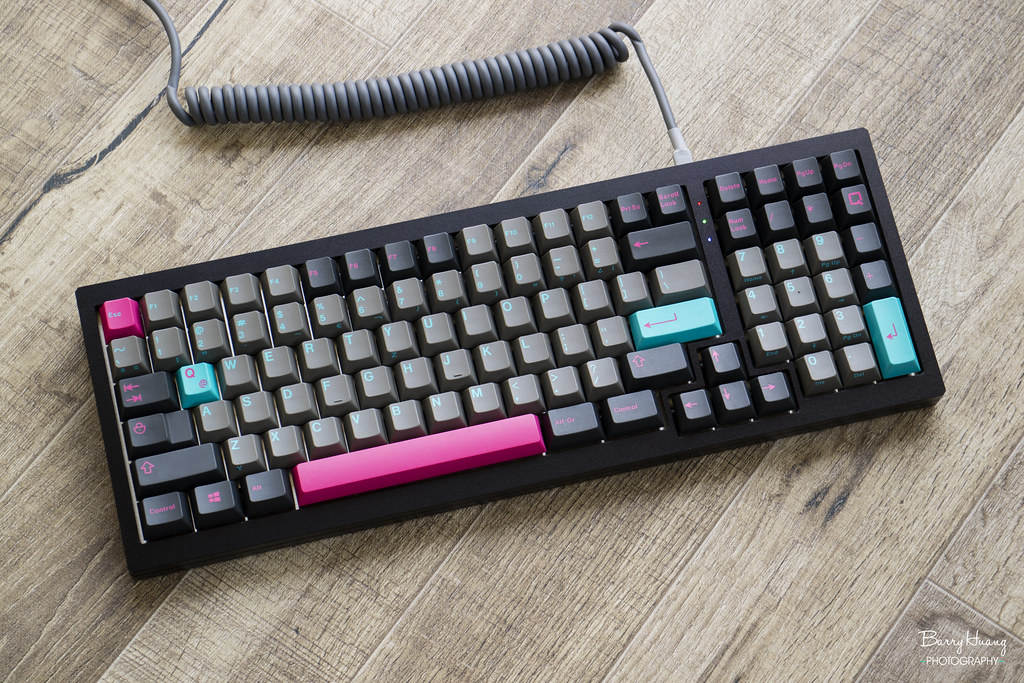
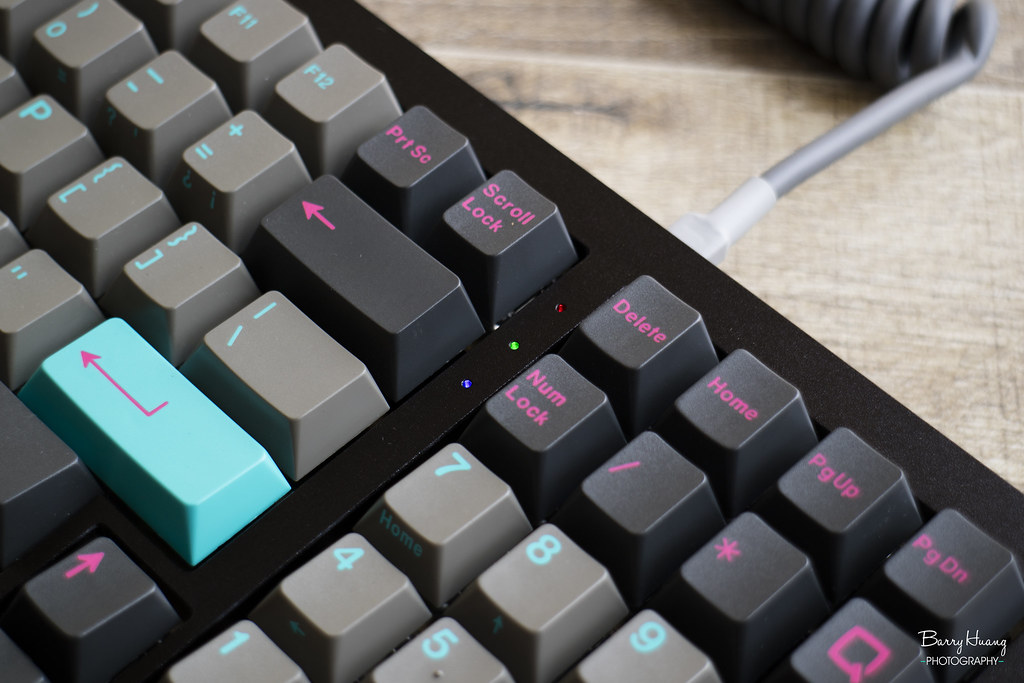
整體來說SaiB-CP是把很多人會喜歡的配置及外型的鍵盤,但以它的價位來說,這樣的表面處理是有點可惜了點。
希望PainMaster能夠讓他的下一把作品,在某些細節上更精緻些。然後那個背部能額外開團做個配重把它補上嗎?
Overall it's SaiB-CP is a keyboard which most of people will down for it's layout and appearance. But the surface finish was a bit shame for a keyboard over 350USD.
Hope PainMaster will make some improvements for his next design. And can you hold a weight GB for the back slot?
感謝觀賞。
Thanks for reading.
Full album: https://www.flickr.com/photos/149475414@N03/albums/72157699282428704


 留言列表
留言列表
 {{ article.title }}